In this article you will learn about how to enable two-factor authentication in WordPress using free plugin.

Being a WordPress user, you must be feeling really worried if someone is just able to just copy/remember your login username and password that you may have just saved somewhere but just got shared; And now either you have to reset your password otherwise, he is able to enter into your website as administrator at any given point of time.
If this threat feels real to you and you want to secure your WordPress Administration Login. It is wise that you soon upgrade and enable Two-Factor Authentication In WordPress.
In recent advances on WordPress security, it is now become very easy to implement and enable Two Step Authentication on your WordPress accounts.
Steps To Follow
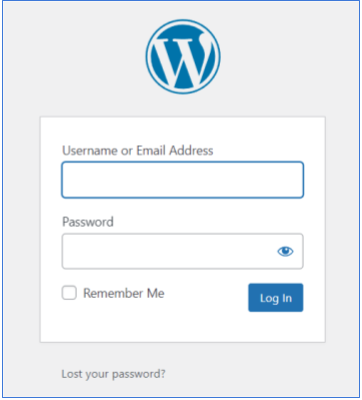
Step 1: Login to WordPress Admin
Login to WordPress Admin using your existing username and password.

Step 2: Go to Plugins
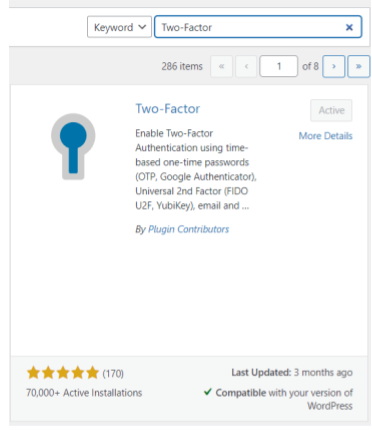
Go to Plugins – (click on) Add New (button at the top)- and search for “Two-Factor”

Step 3: Install new Plugin
Install and Activate the new Plugin
Step 4: Activate Plugin
Confirm that the Plugin is installed successfully and can be found under “Installed Plugins”
Step 5: Users – Profile
Go-to Users – Profile
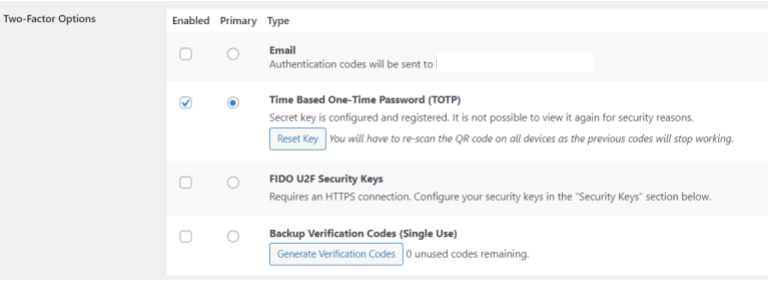
You should find Two-Factor Options

Step 6: Select Authentication options
Select 1 of 4 authentication options
Step 7: (if you try) Option 1 – Email
If you are new to this type of processes, it is recommended that you use Option 1 – Email
It refers to your Profile – Username (Email); and will sent the OTP on this email address.
NOTE: Kindly make sure that you are able to access this email account with proper credentials. As it will receive OTP each and every time when you try to attempt WordPress Login at authentication screen.
Step 8: (if you try) Option 2 – Time Based One-Time Password
If you are aware of some authentication app; (like Microsoft Authenticator App, Google Authenticator App) It is recommended you use Option 2 – Time Based One-Time Password (TOTP), which has a Barcode Scan.
Once scanned, it will get configured with your authenticator app and provide you with 6 digit OTP every time;
Confirm the OTP once; and you are configured.
Step 9: Confirm Options
Confirm that in Two-Factor Options, you have enabled the correct checkbox that is configured by you for receiving an OTP.
Step 10: Update Profile
Go down on the same Page: Users – Profile and click on Update Profile (Button).
Step 11: Successful Try
Log out of on-going session. And re-try login with known username and password.
On successful username and password acceptance (i.e. Step 1 of authentication), you will asked with OTP; based on option which you have chosen; go to that authenticator (either an email address OR authenticator app) and copy that OTP details on login screen (i.e. Step 2 of authentication). And there you are.
If everything is correct, the user will be logged in and you will be granted access to Dashboard screen.
Conclusion
It is very important to save your assets and following above steps for two-factor authentication should help you get utmost of safety.
Hope this article has helped you learn something new about Two-Factor Authentication and how it can be implemented for WordPress WP Admin Logins.
We would love to receive your feedback and comments about our published articles. It motivates us to work towards making us better and help you learn new things in more details.
Do follow us at HDiWs.
Happy Learning.
Thank you.
Wow superb blog. The overall look of your site is magnificent as well as the content